Introduction
eTrigue has tools to assist partners with managing logos. Logos can be used: to personalize your account; dynamically inserted into email messages and landing pages; and branding their unsubscribe pages.
Users can upload a single image, crop it, and eTrigue will then automatically create logos of varying sizes that can be used in the account. It is that simple! After you have uploaded and created logos, you can use them with email messages and landing pages.
Next Steps
If you have already uploaded a partner logo and you want to learn how to insert them into email messages and landing pages, click here.
Otherwise, keep reading below to learn how to upload a logo for your partner.
Uploading Partner Logos
Selecting An Image
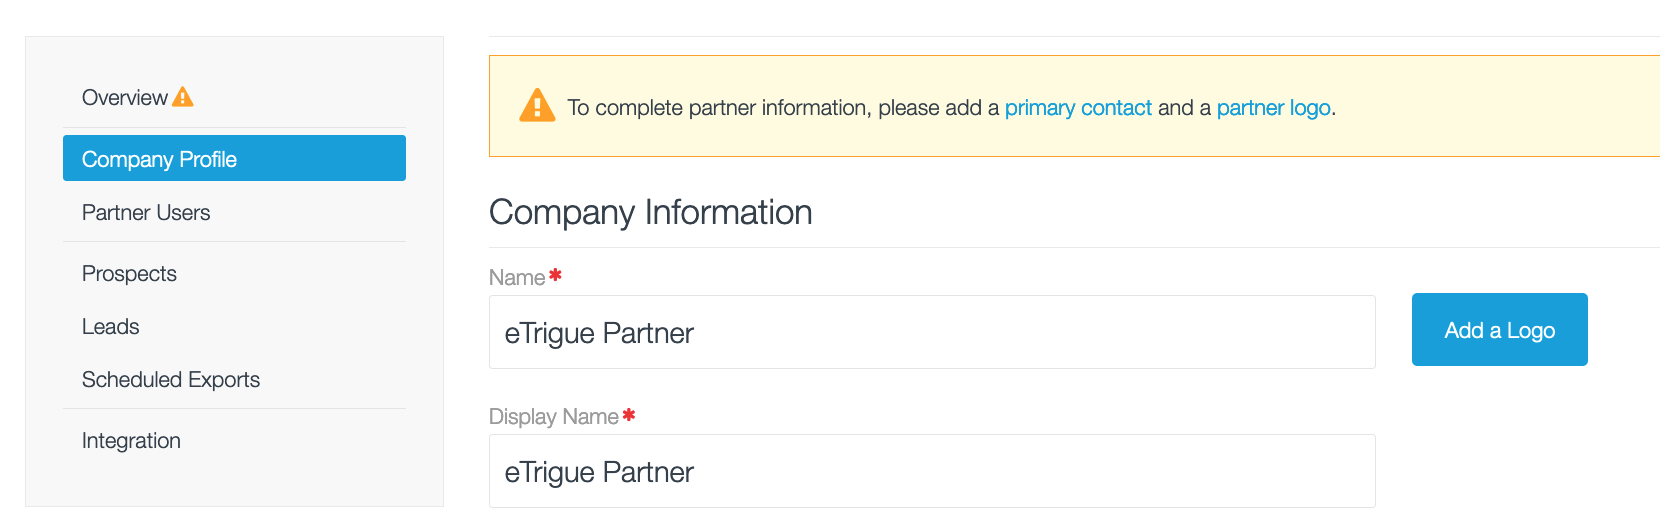
- Open your partner's profile page. Next, click on partner logo or Add a Logo.
- Click Select an Image and then use the dialog to browse for a image on your computer. This image will be used as your starting base image.
Crop/Resize Your Selected Image
- Your image will appear in the logo window that has a large white rectangle in the middle. The goal is to get an image to fill the white rectangle. Your logos will be the result of whatever is in that white rectangle.
- Once you have your image, click Save Logo.
Helpful Tips:
- Re-position the image by clicking on and dragging your image.
- Enlarge or shrink your image by hovering your cursor over a corner and then resizing as needed.
- If you need help with getting the right dimensions to fit the rectangle, you can uncheck Maintain Aspect Ratio. Try to keep this to a minimum because as you alter more of the ratio, the quality of the image reduces.
Here is an example.
In our screenshot below, we started off with an image of our eTrigue Rocket. We moved and resized our rocket so that it was enclosed inside the target rectangle. The rest of the image (i.e. the smoke) would be cropped after saving.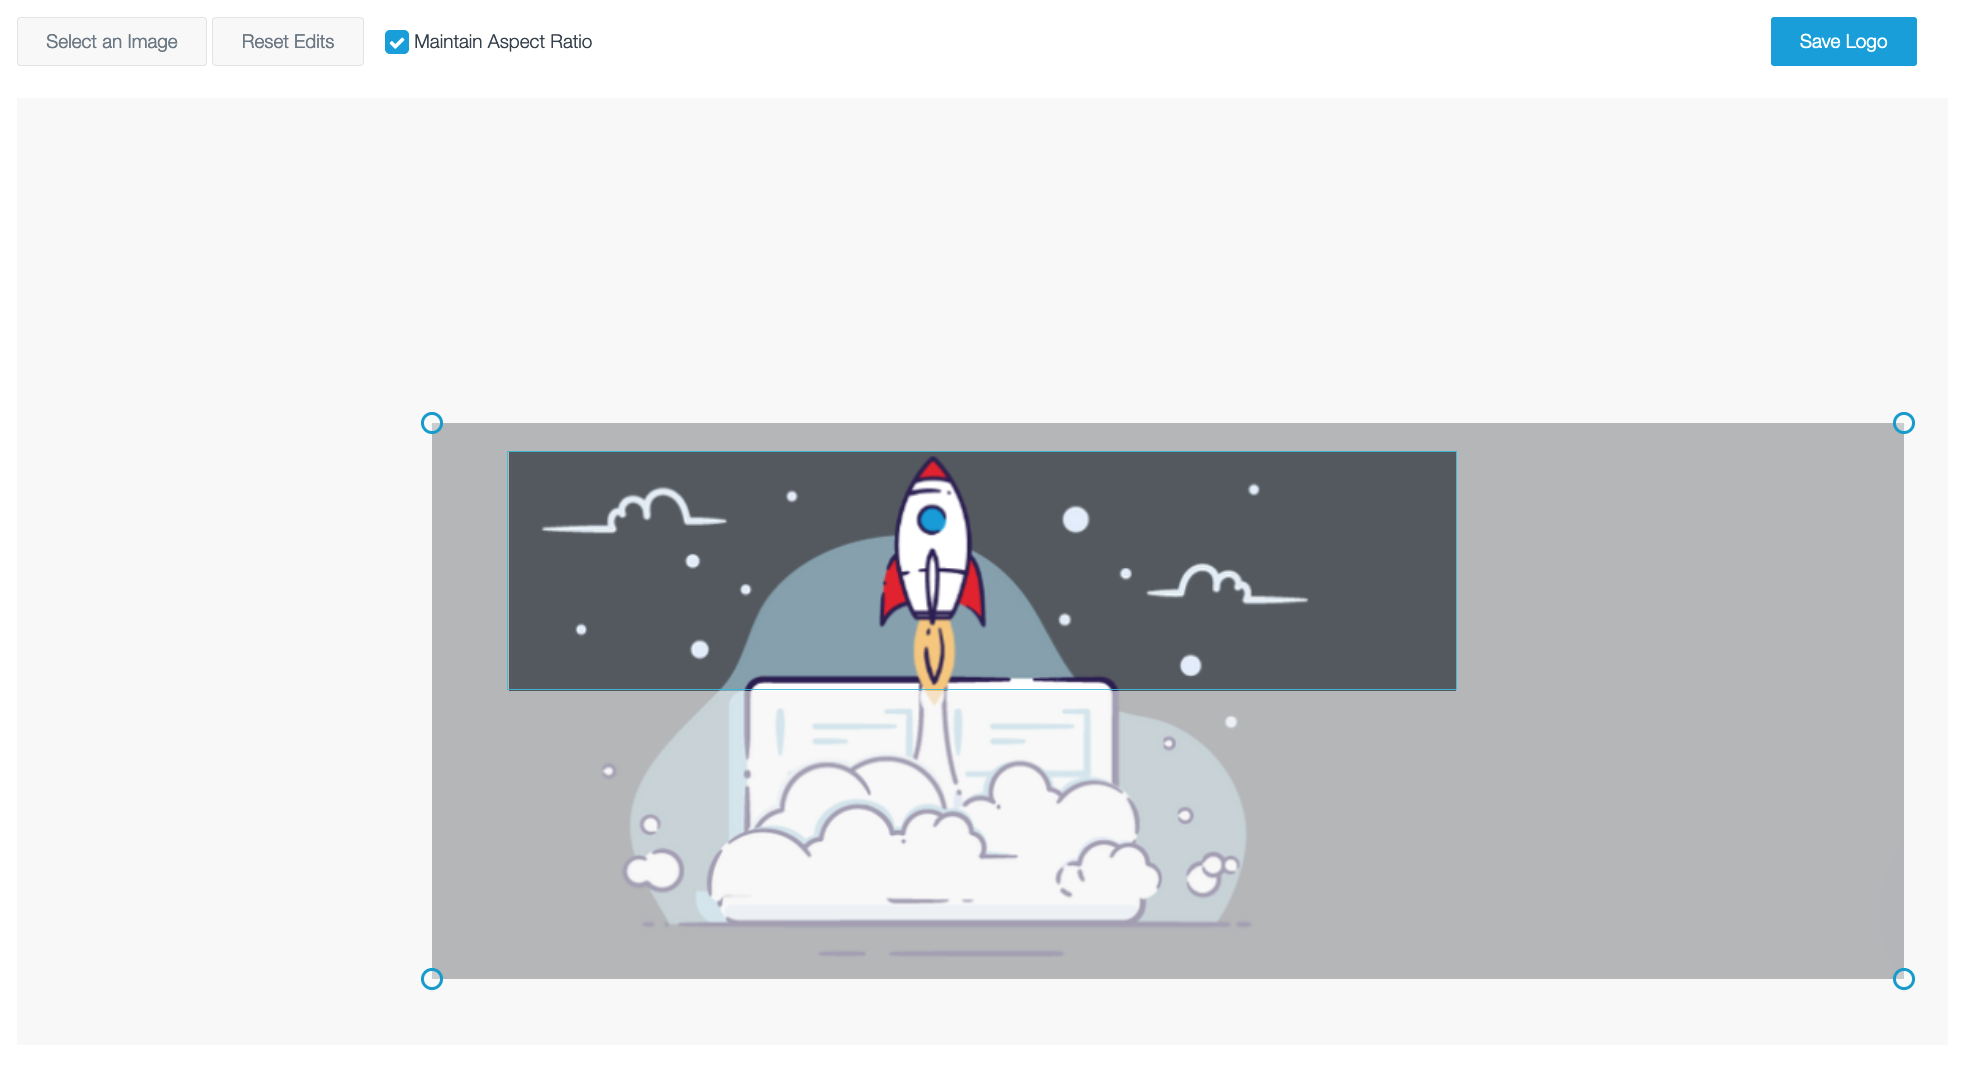
Logo Sizes and Merge Tags
After you have saved a logo, eTrigue will create three logos in .PNG format. Each image has a specific size and a dedicated Merge Tag for use with email messages and landing pages:
- Size: Large (600 x 150)
Merge Tag: [[partner_logolarge]]
- Size: Medium (300 x 75)
Merge Tag: [[partner_logomedium]]
- Size: Small (180 x 45)
Merge Tag: [[partner_logosmall]]
Referring back to our previous example, here are the resulting logos:
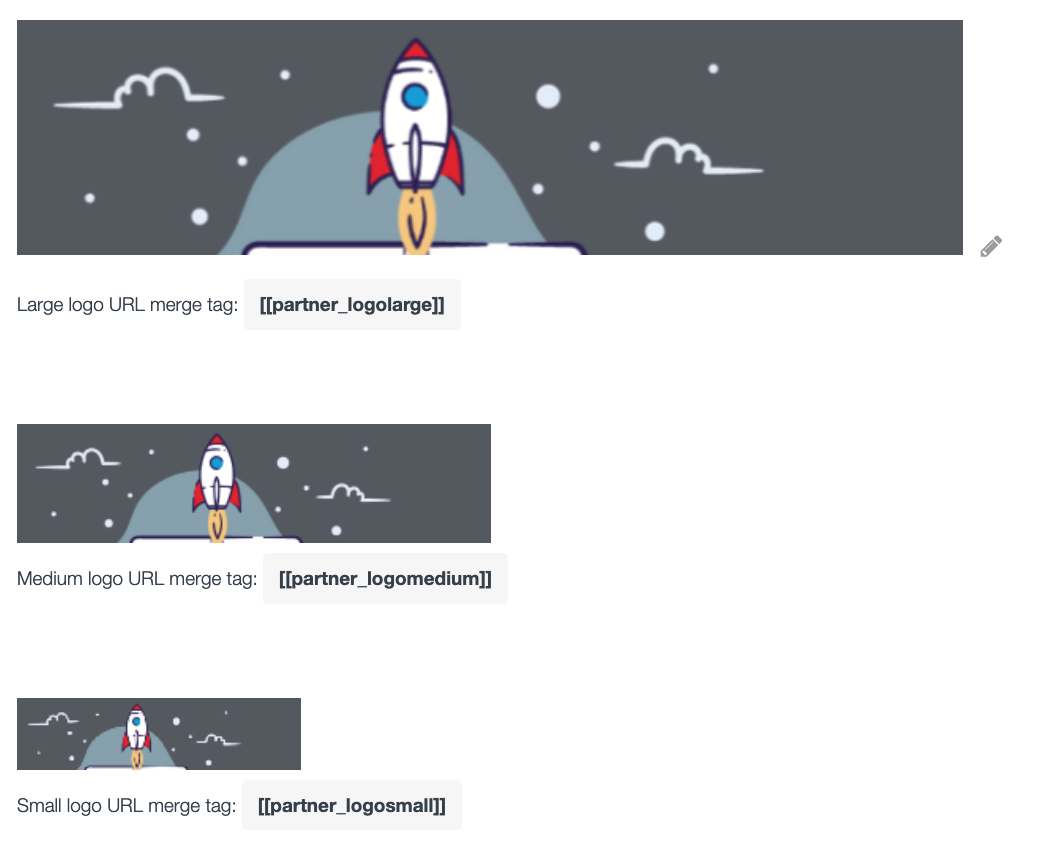 If you ever need to adjust the size or upload a new logo, click on the pencil icon located to the right of your large logo.
How To Insert Logos Into Your Assets
When building your email message or landing page through our Drag and Drop Editor, you can use special merge tags to insert your logos into those assets.
- In your email message or landing page, determine where you want your logo to be inserted. You can drag a brand new IMAGE content block onto your asset, or click on an existing image.
- When you click on the target IMAGE, its Content Properties will appear on the right hand side.
- Next to Dynamic image, toggle it ON.
- In the Dynamic URL field, insert the Merge Tag value corresponding to the logo size that you desire. For available tags reference, click here.
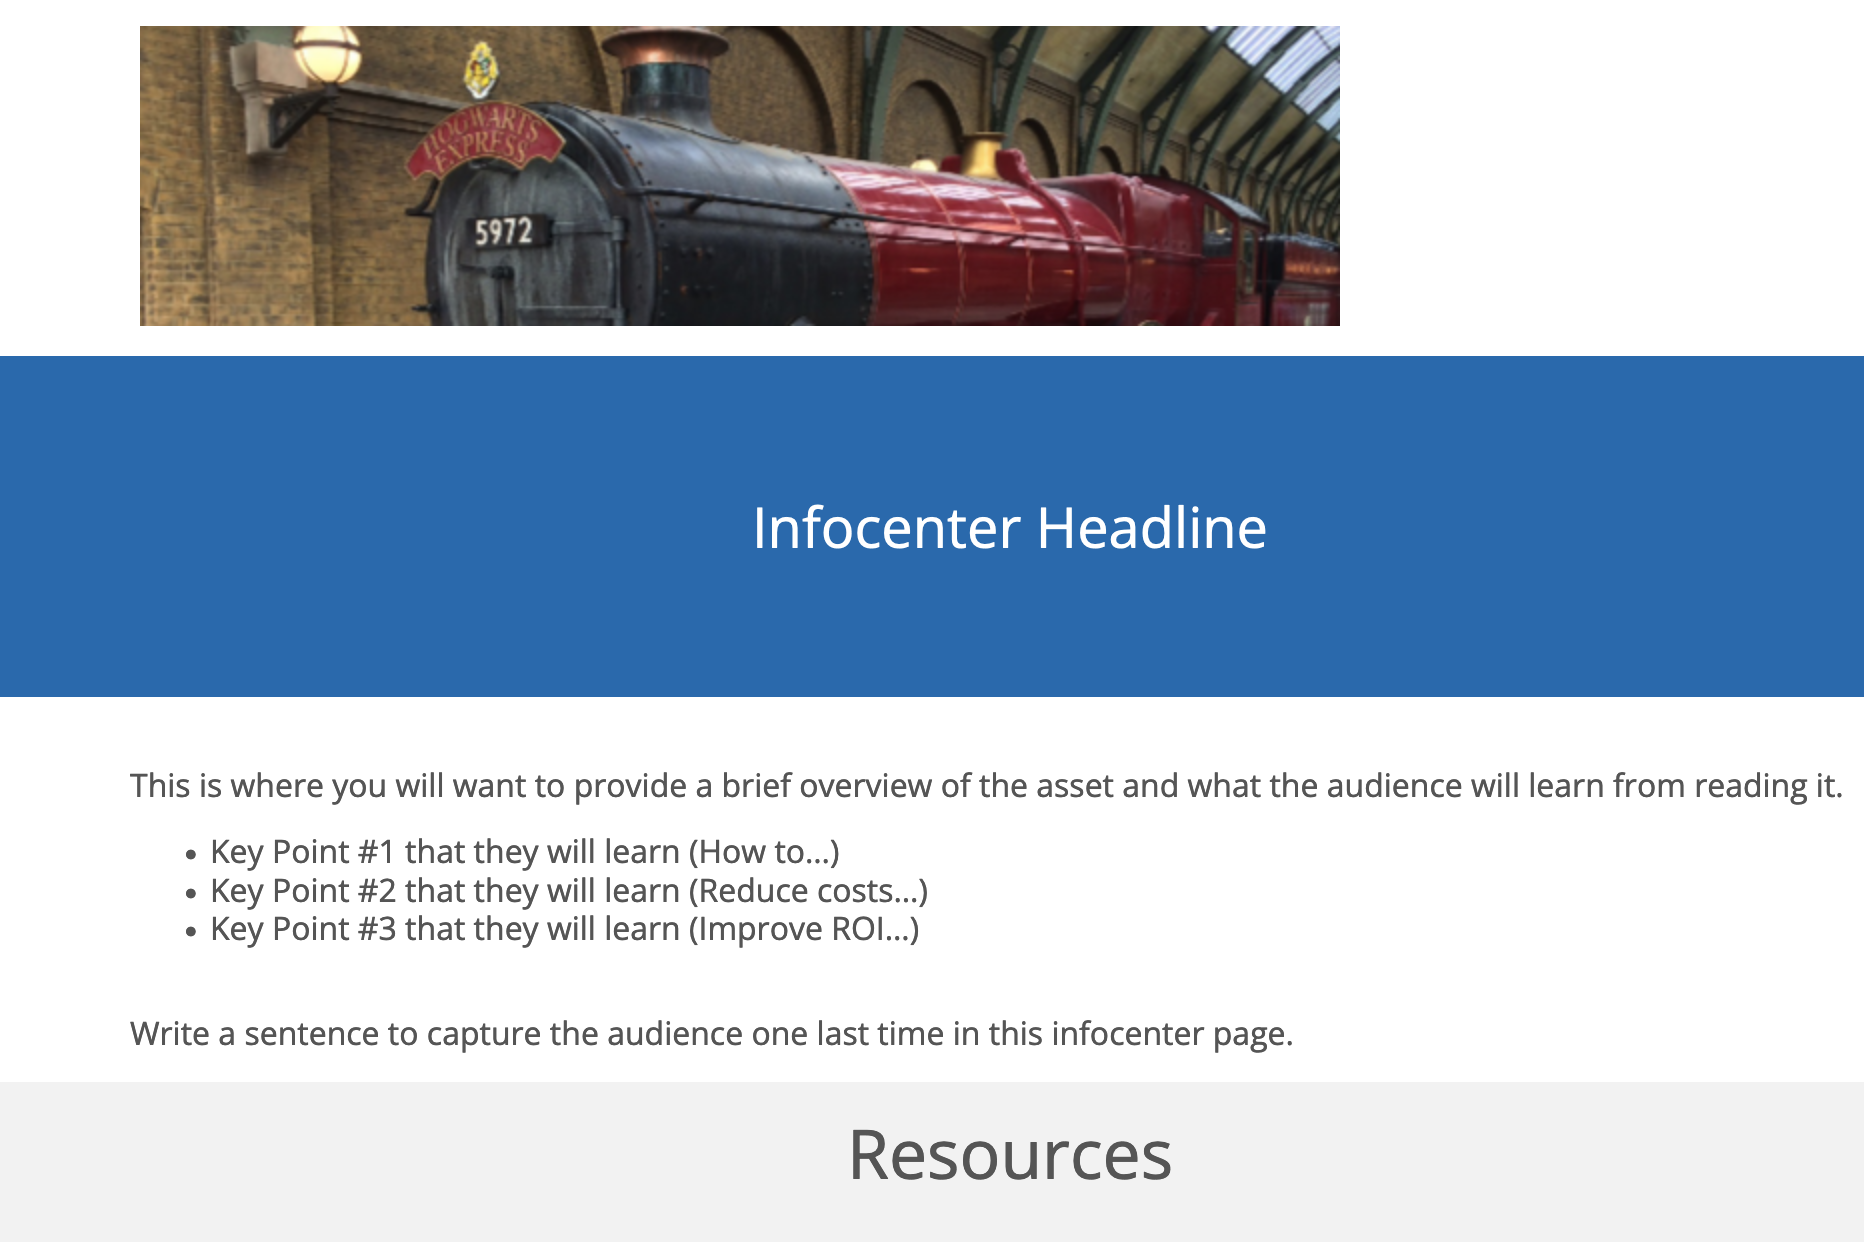
Example: In our screenshot below, we are choosing to use the "large" size for the image above our "Infocenter Headline."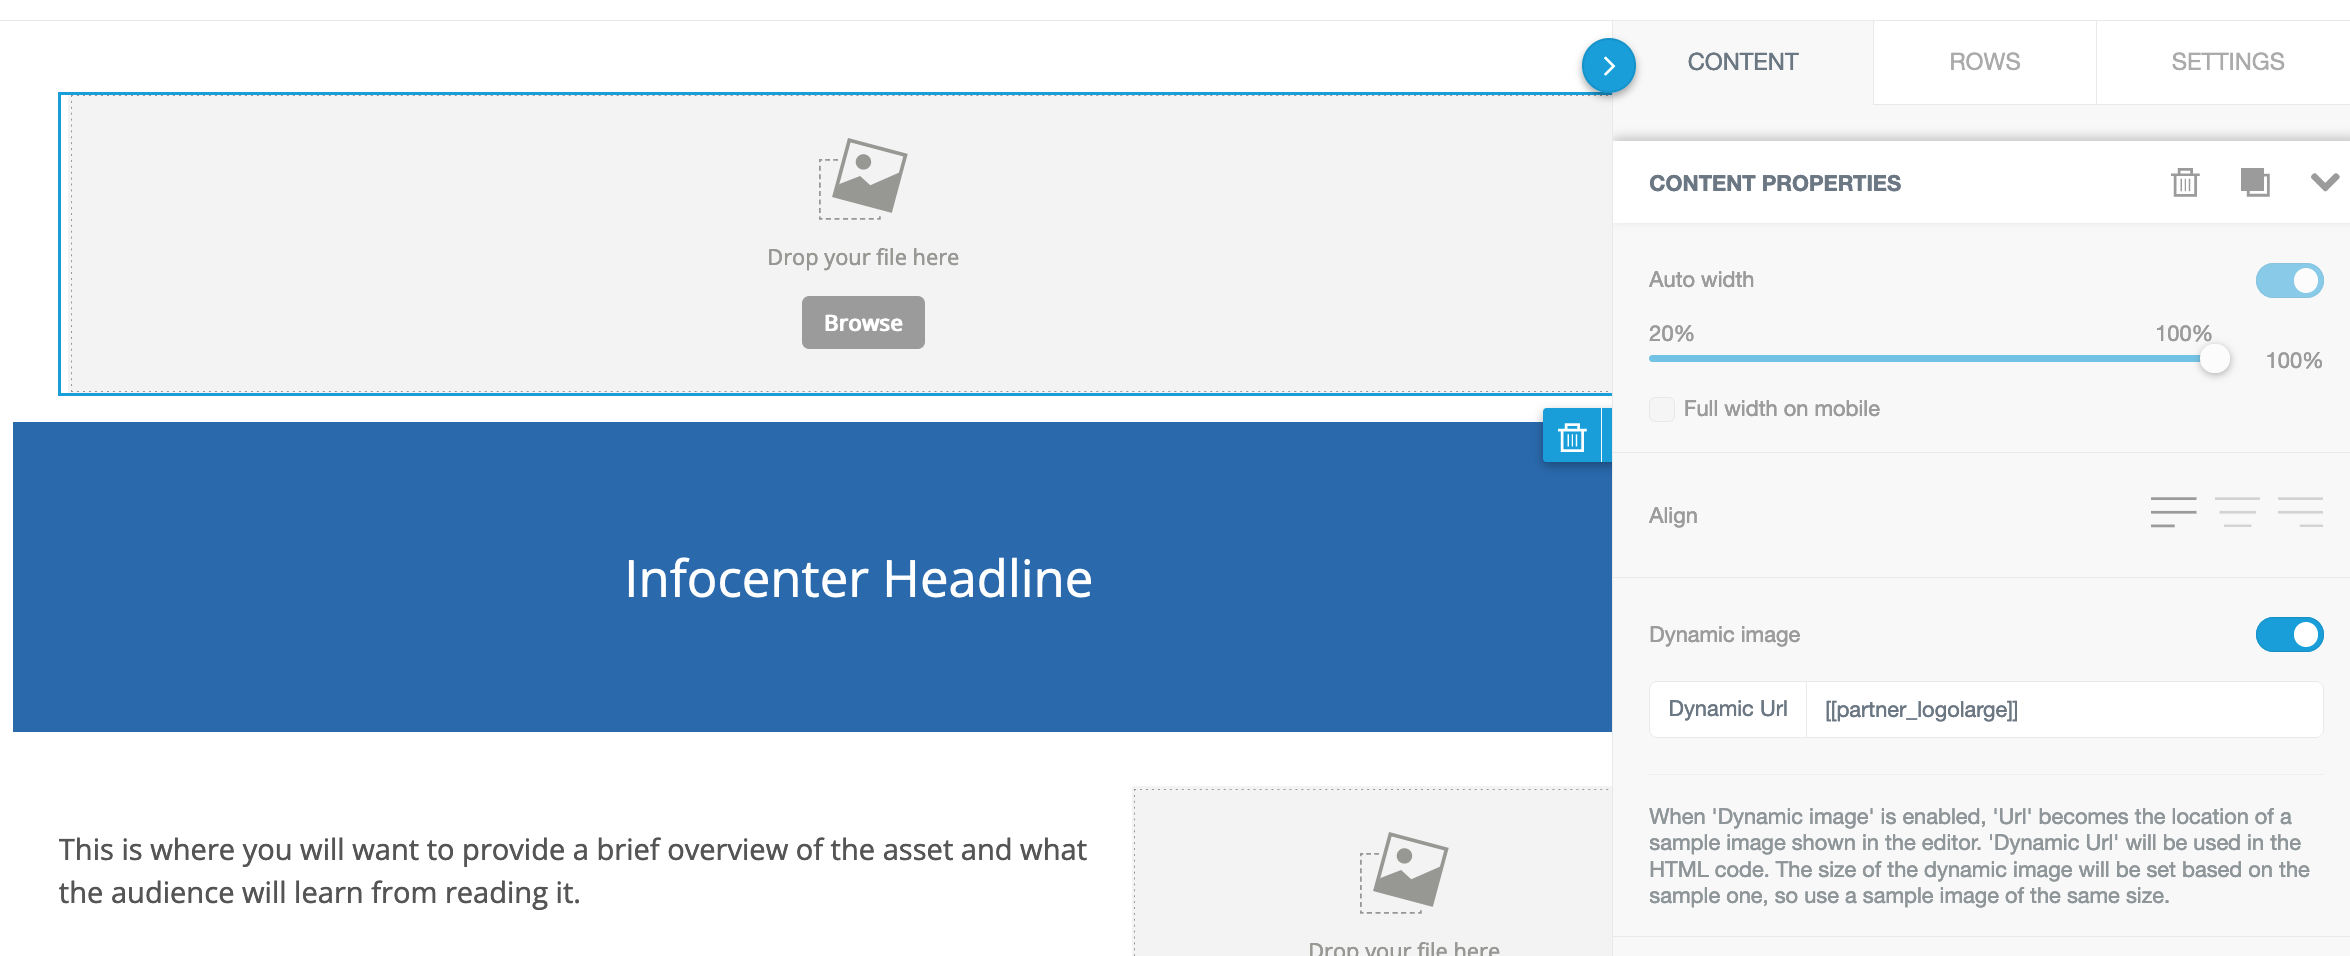
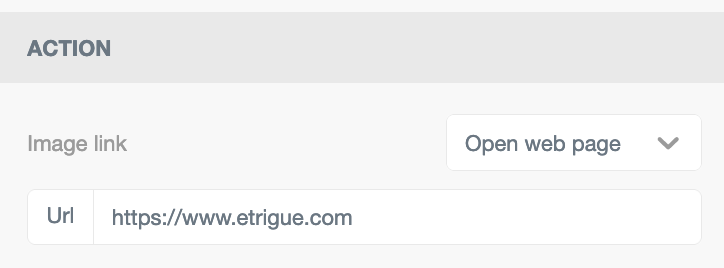
- As a best practice, link your logo to drive traffic to your website or landing page. You can link your logo by inserting the URL of your webpage in the Url field under the Action section.
- When finished, click the Save button at the top of the page.
- That's it! Your logo will dynamically appear on a landing page or email message (when downloaded).
Below is an screenshot of our example landing page calling the "large" logo from earlier: