Introduction
As a best practice, organizations should only be sending email messages to prospects that want to receive content from you. Confirmed Opt-In (COI) policies are methods to help you verify and confirm that prospects actually consented to receiving emails from you.
Another common name for this is Double-Opt-In which includes the practice where you acquire consent from your prospects by sending them an additional email after a form submit. The purpose of this email is asking them to confirm their "opt-in".
The main characteristics of Confirmed Opt-In (COI) policies typically include:
- Verifying that new prospects have opted-in to receive emails by asking them to confirm their consent through a confirmation email.
- Consider implementing a plan where you periodically send an email to confirm that prospects still want to receive emails from you.
- Protecting your web-forms by validating the submissions that come through.
Benefits of Implementing Confirmed Opt-In (COI)
- Verification ensures that prospects are providing their email addresses correctly (e.g. not misspelled or typed incorrectly).
- Prospects that have opted-in will less likely report your emails as spam.
- Taking the extra step to confirm prospect subscriptions shows due-diligence on your part. Overall, this improves trust and confidence in your organization.
- The consent is recorded and logged in a prospect's activity history. This gives you accountability.
- Helps you keep your database healthy and clean.
How to Setup Confirmed Opt-In (COI) Processes
In eTrigue, you can setup COI processes using a combination of email messages, landing pages, form auto-responses, and prospect search queries.
By default, when new prospects are added to your database, the prospects automatically start with Email Consent set to No. eTrigue takes this safer position by assuming that prospects have not consented to receiving emails until they have confirmed through a COI email.
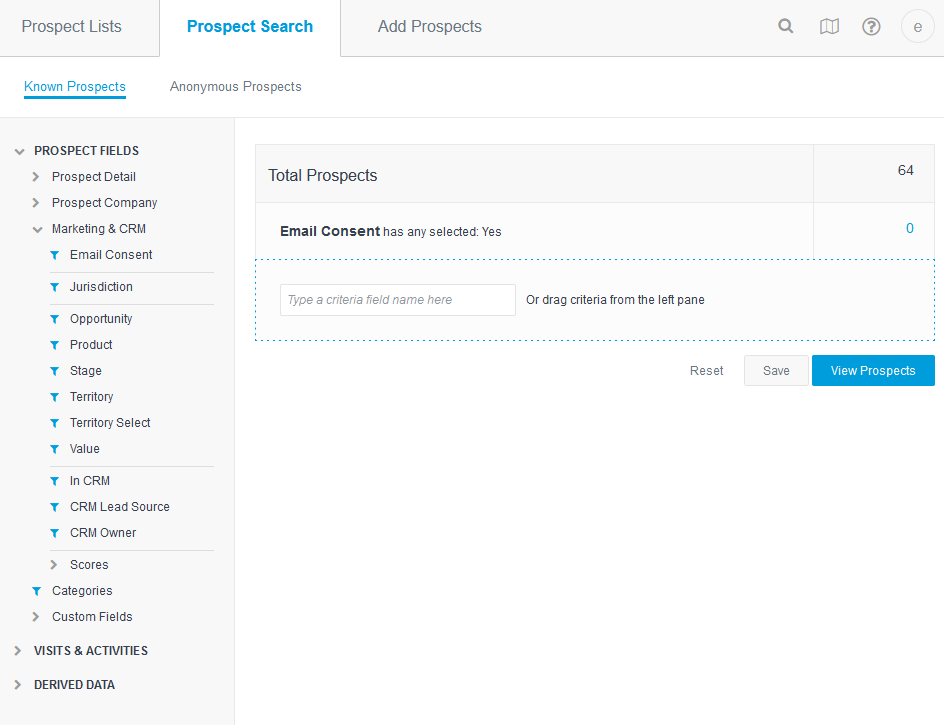
Thus, it is recommended that when users are defining their campaign's lists, their lists definitions at a minimum include Email Consent = Yes. This ensures that lists include only prospects that have given consent.
Below is a screenshot of the Email Consent criteria that is recommended to be added to all list definitions:
COI Process: Confirming New Email Subscribers From Web Forms
Step 1: Create a landing page for your confirmation page
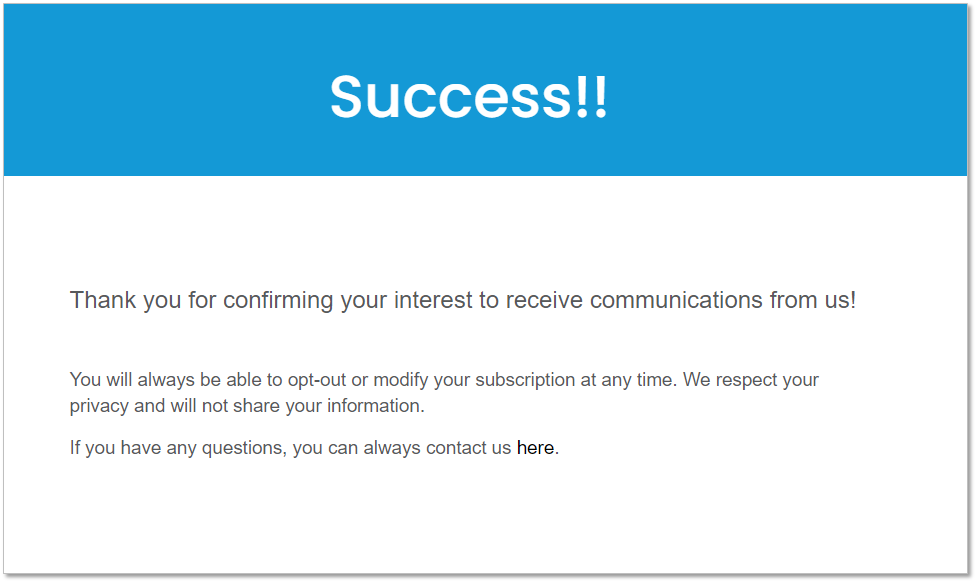
Use the Landing Page Builder to create a landing page that will act as your confirmation page that a prospect sees after they have clicked on your confirmation link/button. The page should be contain a simple message indicating that the prospect is now subscribed to your mailing lists.
Below is a sample landing page of a confirmation landing page.
Step 2: Create an email message to send to prospects asking for confirmation
Use the Email Builder to create an email message that you can send to a prospect to confirm their consent in joining your mailing list. The email should contain a button/link that points to a confirmation landing page created in Step 1.
Here are some tips on creating this email message:
- The subject line should be clearly labeled to indicate that you are requesting the prospect's confirmation to be opted-in.
- The message should state that the prospect will receive emails from you only after they have clicked on their confirmation link . Otherwise, emails will not be sent to them in the future.
- Remember:
Your message should be asking prospects to confirm that they want to OPT-IN.
The message should NOT ask them if they want to opt-out.
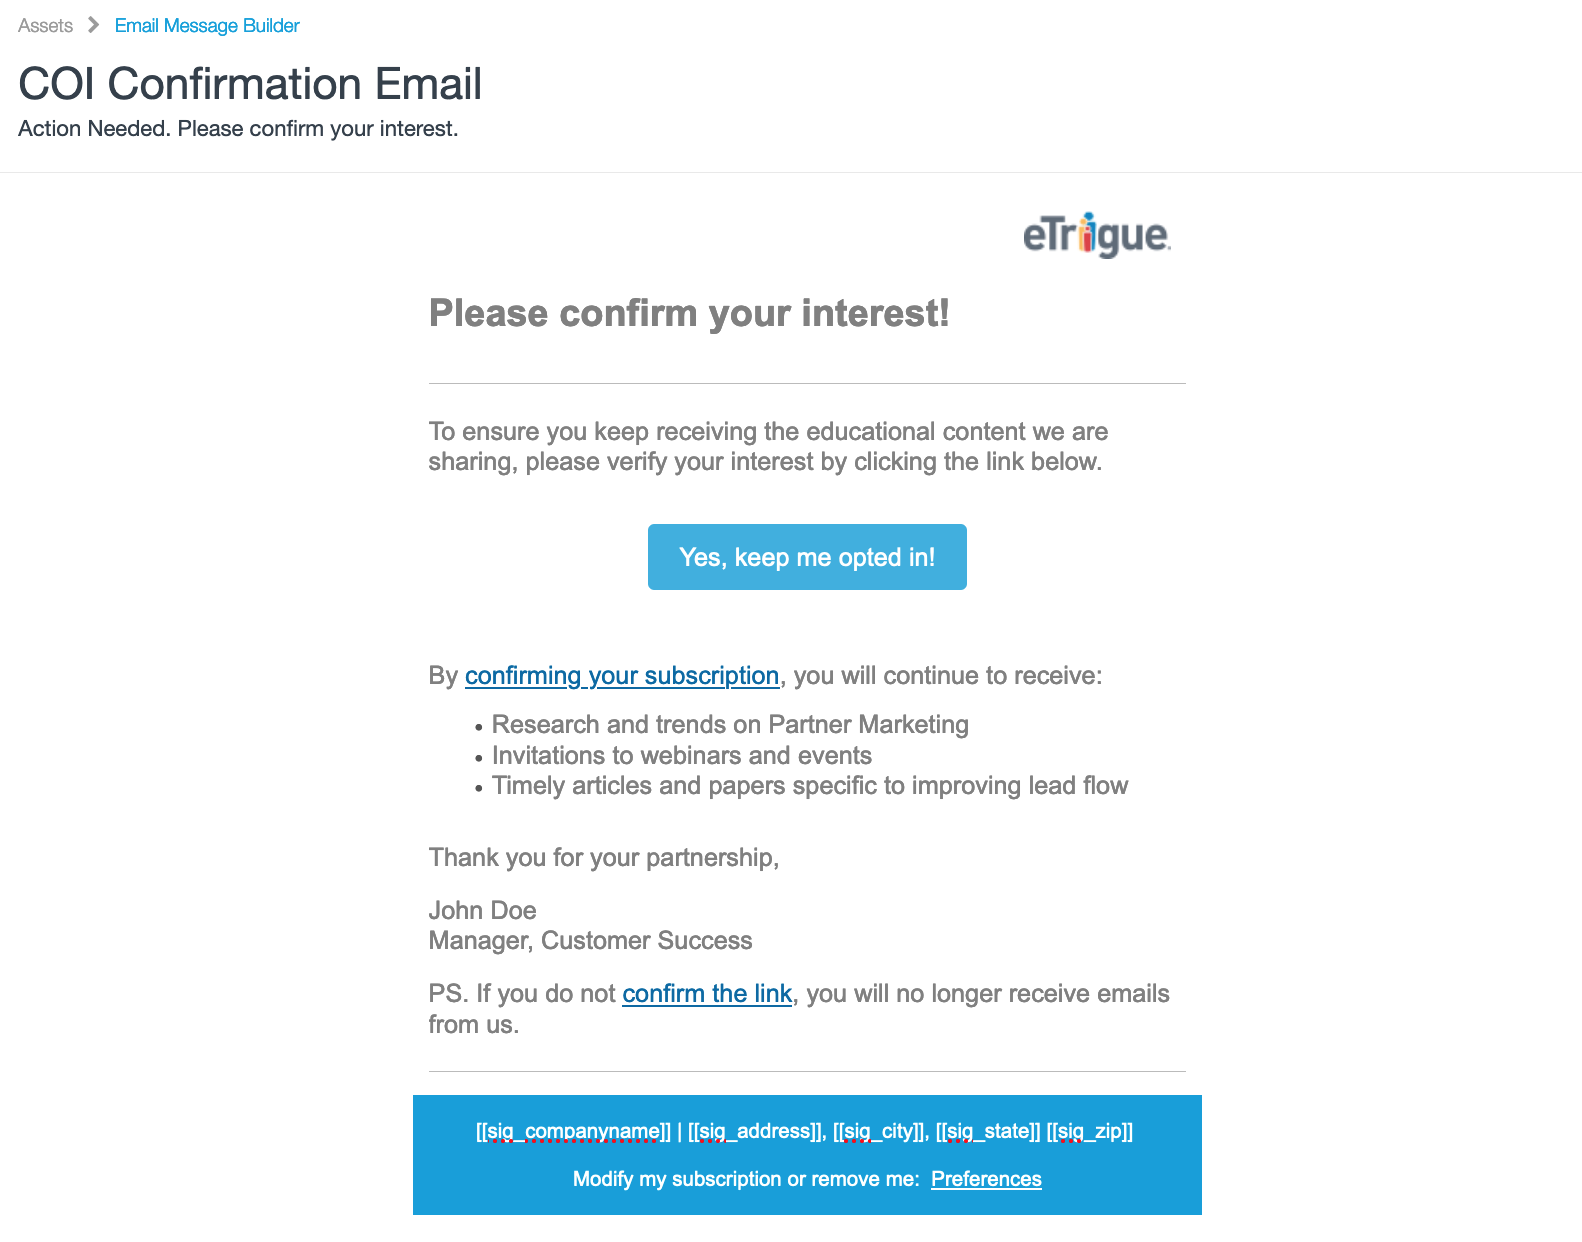
Here is a sample email message that you can use as a reference:
Subject Line: Action Needed - Please confirm your interest.
Step 3: Enable Form Auto-Response
- Go to Assets and locate/open your eTrigue form that handles new email subscribers.
- Under the form's Actions tab, ensure that you enabled an auto-response by checking the Send Email to Prospect checkbox.
- Click on Select Email Message to choose the confirmation message that you prepared in Step 2.
- Click on Select Sender to choose the sender (i.e. the "FROM) of your confirmation message.
- Save your changes.
Step 4: Create a Campaign to Update Email Consent
Create a campaign that includes prospects that have done BOTH of the following:
- filled out your web form; AND
- has visited the confirmation landing page.
The campaign should include a single Change Data Action that update the prospect's Email Consent field to Yes.
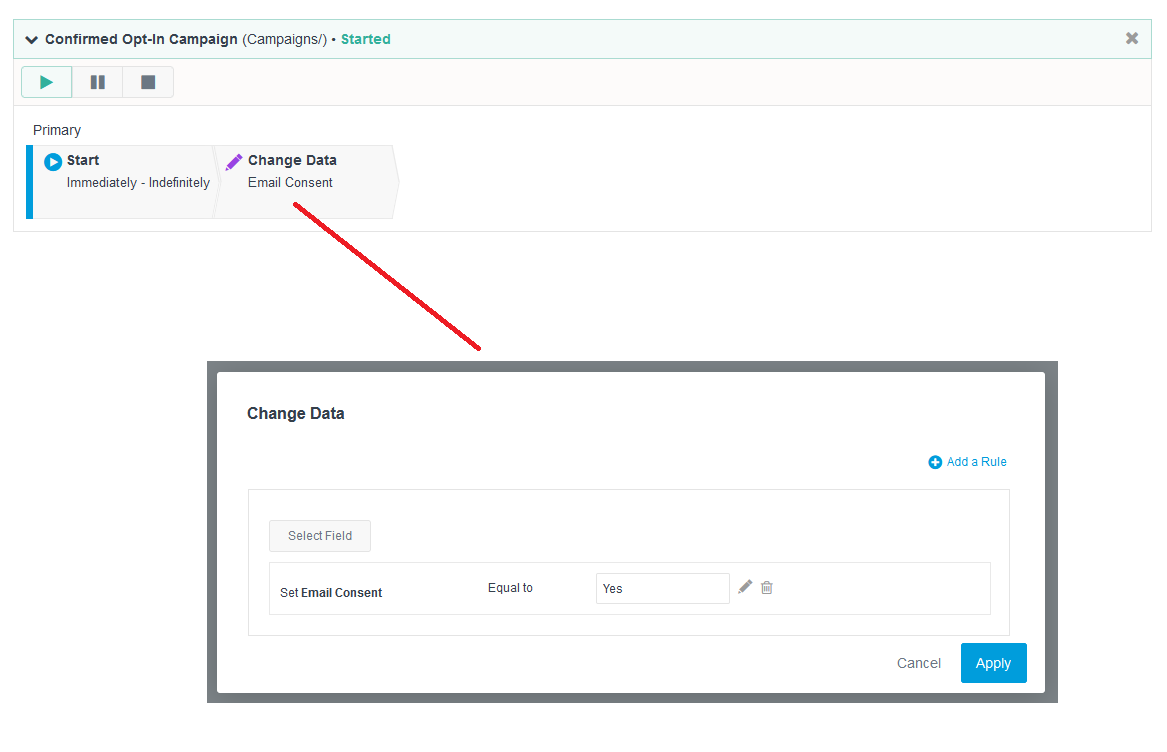
As stated earlier, the system assumes that a prospect has not consented into receiving emails which is why prospects start off with their Email Consent fields set to No.
With the campaign in place and list definitions including Email Consent = Yes as their first criteria, you will ensure that new prospects from web forms will not receive emails until they click the confirmation link in the confirmation email.
COI Process: Confirming New Subscribers From Acquired Lists
Similar to the approach above, when you are planning to import new prospects into eTrigue from acquired lists, it is best practice to verify that prospects have agreed to receive emails from you.
For example, suppose you hosted a tradeshow where you collected business contacts. You can implement COI practices to confirm that the contacts agreed to receive communications from you.
After importing your prospects, create a campaign to send those prospects the same confirmation email (as described in Step 1 of "COI Process: Confirming New Email Subscribers From Web Forms").
If there are any prospects that confirmed, use a campaign update their Email Consent field to Yes.
COI Process: Conduct Permission Pass For Unverified Prospects
What is a permission pass?
When sending campaign emails, you should only be sending emails to prospects that have confirmed opt-in. A permission pass is a method to contact existing prospects and have them confirm that they would like to stay in communications with you.
Important Note: Permission pass should only be used to re-verify prospects that have previously opted-in. You should never implement a permission pass to obtain consent from prospects who have never explicitly given you their consent.
Implementing a permission pass may initially lower the size of your prospect lists, but you end up with lists of higher quality. In addition, a permission pass helps your domain reputation because the goal of a permission pass is to confirm consent and remove unverified prospects from your database.
Conduct a Permission Pass Campaign
In eTrigue, you can use a campaign to facilitate a permission pass. The goal of the campaign is to target prospects that should receive a permission pass email and then update the Email Consent field.
For the prospects that have confirmed, you set their Email Consent field to Yes. Otherwise, the prospect's Email Consent field will remain at the default value of No.
Step 1: Create a landing page for your confirmation page
Use the Landing Page Builder to create a landing page that will act as your confirmation page that a prospect sees after they have clicked on your confirmation link/button. The page should be contain a simple message indicating that their confirmation is received and they will continue to receive emails from you in the future.
Below is a sample landing page of a confirmation landing page.
Step 2: Create an email message for confirmation
Use the Email Builder to create an email message that you can send to a prospect to confirm that they want to remain on your mailing list. The email should contain a button/link that points to a confirmation landing page created in Step 1.
Here are some tips on creating this email message:
- The subject line should be clearly labeled to indicate that you are requesting the prospect's confirmation to stay or continue receiving emails from you.
- The message should ask if they want to continue receiving emails from you by clicking on their confirmation link. Otherwise, emails will not be sent to them in the future.
- Remember:
Your message should be asking prospects if they want to STAY opted-In.
The message should NOT ask if they want to be opted-out.
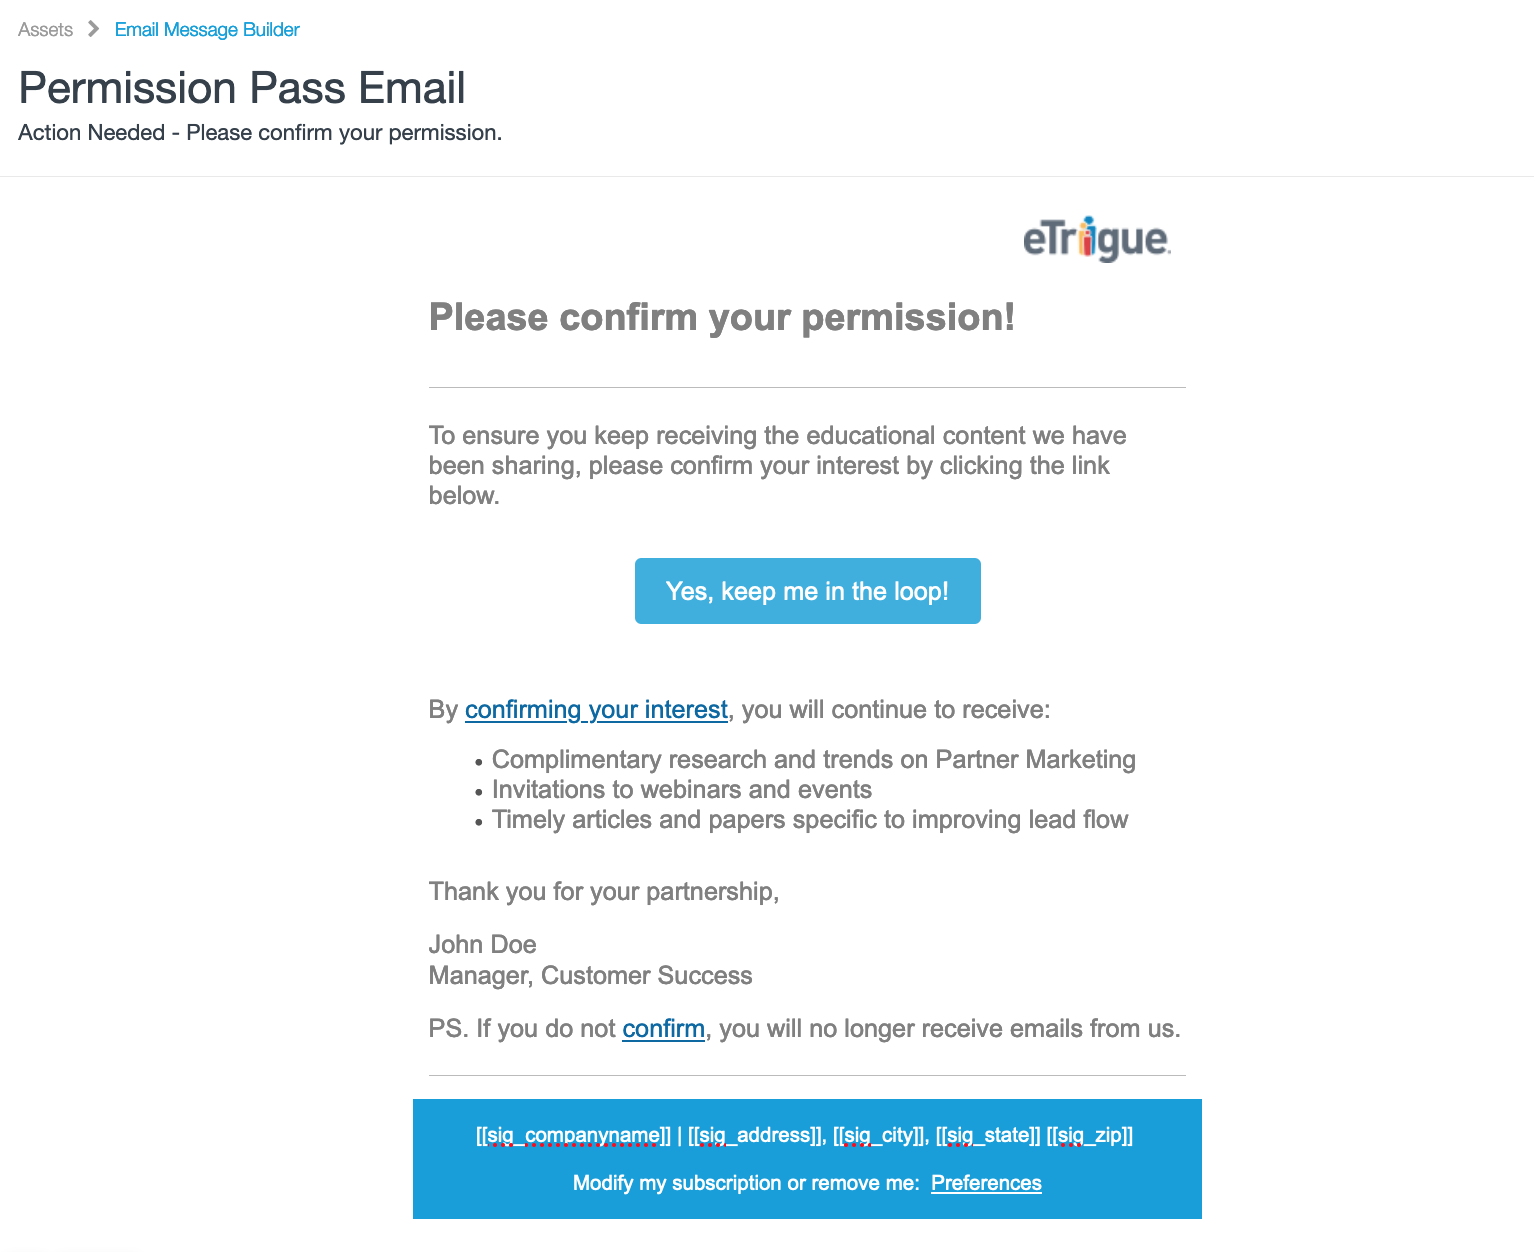
Here is a sample email message:
Subject Line: Action Needed - Please confirm your permission.
Step 3: Send the Permission Pass Email
Use Prospect Search to build a list of prospects that should receive the permission pass.
Guidelines for your list:
- The prospects should be those that have opted-in previously, but you are now wanting to check in with them to see if they want to continue receiving emails from you.
- Prospects that you recently acquired from your forms, sent emails, but did not properly verify consent.
- You should not send to everyone in your database asking for confirmation.
After you have identified the list, send them the email from Step 2.
Step 4: Create a Campaign to Update Email Consent
Create a campaign that includes prospects that have done BOTH of the following:
- received your permission pass email; AND
- has visited the confirmation landing page.
The campaign should include a single Change Data Action that update the prospect's Email Consent field to Yes.